
Connect & Verify
Plug In
- Plug your PyCubed board into a computer (Windows/Mac/Linux) using the included USB C cable.
- After a moment, your computer should recognize the board as a "mass storage device" (like a flash drive) called
PYCUBED.- Your computer may show a message saying the connected device is a keyboard/mouse. This is fine! Your operating system is recognizing PyCubed's ability to emulate a hardware-interface-device. Click ok/continue/close/etc..
- You should also notice the on-board RGB LED cycling through a rainbow of colors. PyCubed ships with an example script that does this automatically. This will stop happening if you change or replace the default
main.py.👆 Replacement rainbow main.py file (if needed)
❓ Troubleshooting Connection Issues
Connection Issues (← expand me)
Don't worry! All PyCubed boards are functionally tested before shipping, so the issue is likely simple to solve.
- Ensure you performed the checks in
 Unpacking & Hardware Overview
- If your computer doesn't see the PyCubed board as a mass storage device
(but the RGB is cycling through a rainbow of colors
as described)- Confirm the USB port on your computer isn't a "power only" port by plugging another USB device (like a flash drive) into that port.
- If your computer doesn't recognize PyCubed and there is no rainbow LED as described.
- It's likely the board isn't getting power.
- Confirm the USB port is working on your computer by plugging another USB device into that port.
- Visually inspect the board for any foreign debris that may be causing a short-circuit on the board.
- It's likely the board isn't getting power.
- See ❓Troubleshooting for more details
- Ensure you performed the checks in
Open Mu
- With the board plugged in and confirmed working, open Mu (if it's not open already)
- Mu sometimes reports that it can't find a CircuitPython device. Like this:

Click "OK" and proceed with the instructions below.
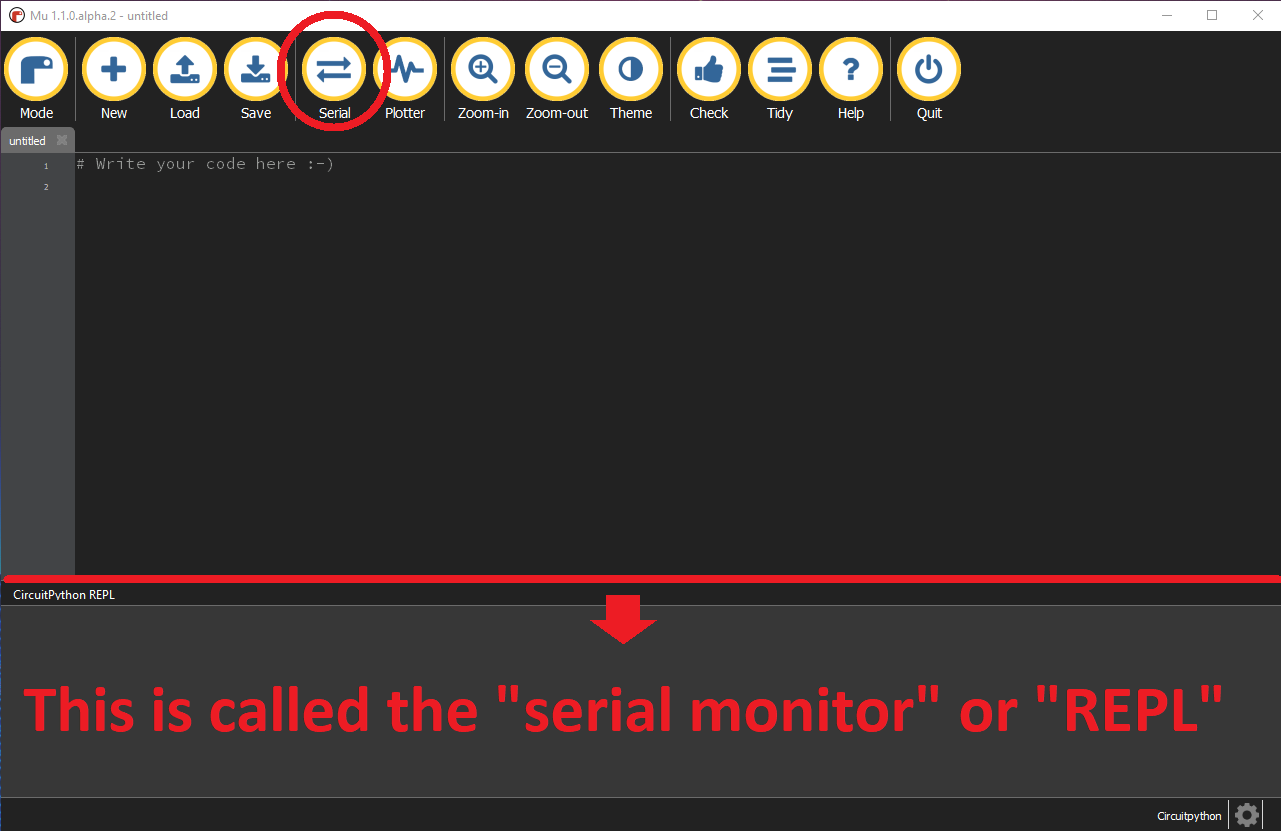
- Open the Serial Monitor (aka "REPL") by clicking the "Serial" button along the top bar. You should now see something similar to the image below.
❓ Troubleshooting Mu Issues
Mu Issues (← expand me)
Don't worry! All PyCubed boards are functionally tested before shipping, so the issue is likely simple to solve.
- If you get a Mu-specific error, ensure you followed the instructions in
 Download Mu.
- Restart your computer after installing Mu.
- Board not recognized?
Prior to Mu 1.1.0-beta-4 release, Mu Editor did not recognize PyCubed as a CircuitPython device. If you encounter this, try reinstalling Mu.
Still not recognized?
try an earlier release for Mu: https://github.com/mu-editor/mu/releases
How to manually add valid board types to Mu
(no longer necessary)On Mac
- Close Mu (if it's open) and navigate to the Mu installation directory (might look something like this:
/Applications/mu-editor.app/Contents/Resources/app/mu/modes)
- Open the
/adafruit.pyfile in a text editor and add(0x04D8, None),to the thevalid_boardslist (somewhere around line 54) and save. The file should now contain something like:... (0x1B4F, 0x8D22), # SparkFun SAMD21 Mini Breakout (0x1B4F, 0x8D23), # SparkFun SAMD21 Dev Breakout (0x04D8, None), # PyCubed related boards ]
On PC
- Follow the same steps as for the mac, except the adafruit.py (it might also be called circuitpython.py) file will be located in a directory similar to...
C:\Users\USERNAME\AppData\Local\Mu\pkgs\mu\modes(make sure to change 'USERNAME').
Can't find the
circuitpython.pyfile?If you're on PC, try looking for the install location:
MU-INSTALL-PATH\pkgs\mu\modes
- Close Mu (if it's open) and navigate to the Mu installation directory (might look something like this:
- If you get a Mu-specific error, ensure you followed the instructions in
Check Serial Terminal
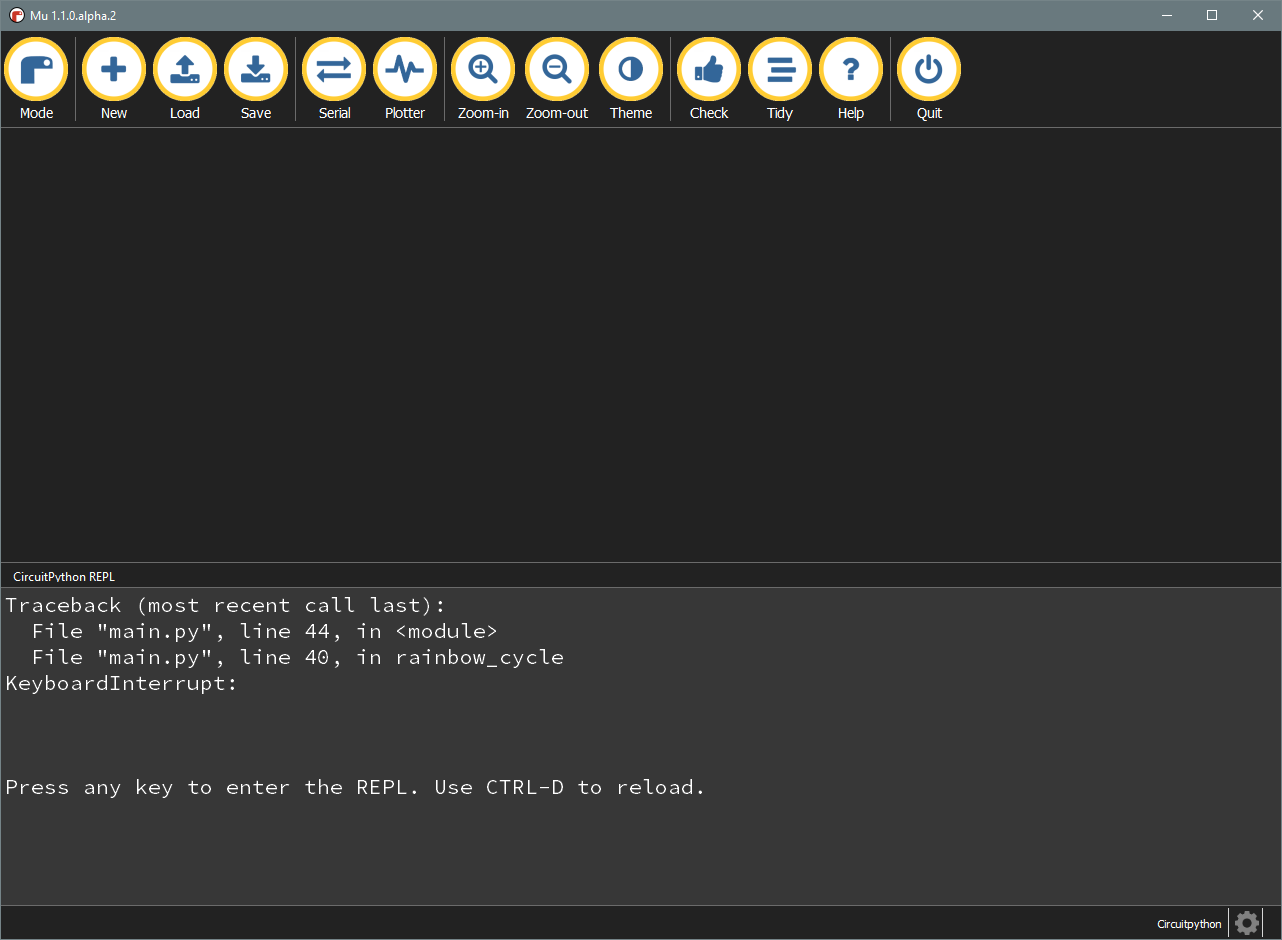
- Click inside the "CircuitPython REPL" box and press
Ctrl + Con your keyboard.
(Ctrl + Chalts the current program running on the board)💡Keep in mind:
Depending on the code that's running, you may need to pressCtrl+Cmultiple times in order for Mu to catch the keyboard interrupt)You should now see something similar to...
🎉 congratulations! Mu is now successfully installed and configured.
Next Section →  HelloWorld.py