Radio
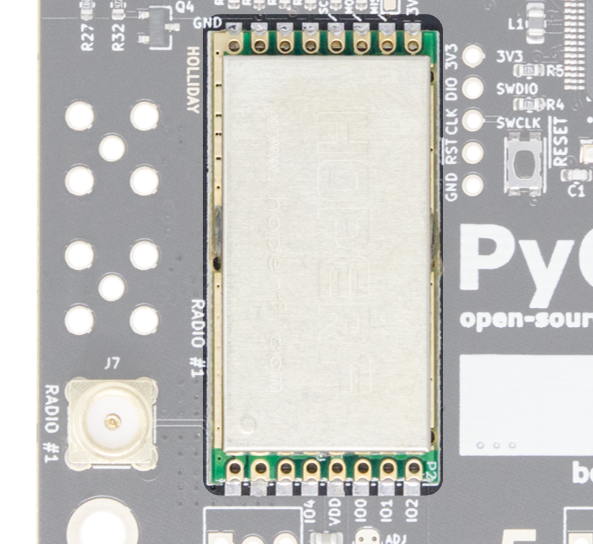
PyCubed boards come with a HopeRF RFM98PW high power (1W) LoRa radio tuned for 433 MHz.
- Supports FSK, GFSK, LoRa, OOK.
- Examples below all use LoRa modulation.
- See 🗄Component Datasheets for full hardware details.
For all intents and purposes, you can treat the RFM98 as a Semtech SX1276/8 radio.
⚙ Hardware Needed
- PyCubed mainboard
- Antenna
Failure to do so can permanently damage the radio. Read more about "reflected" transmitter energy
here.
📑 Code
Listen:
Using the ⭐pycubed.py helper library:
from pycubed import cubesat

if cubesat.hardware['Radio1']:
    while True:
        packet = cubesat.radio1.receive()
        if packet is None:
            pass
        else:
            print('Received (raw bytes): {0}'.format(packet))
            rssi = cubesat.radio1.rssi
            print('Received signal strength: {0} dBm'.format(rssi))
Talk:
Using the ⭐pycubed.py helper library:
from pycubed import cubesat
import time

count = 0
if cubesat.hardware['Radio1']:
    while True:
        count += 1
        print('Sending Message...'+str(count))
        cubesat.radio1.send('Hello World: '+str(count))
        time.sleep(2)
Details
The PyCubed boards come with an RFM98PW (433 MHz) installed meaning we can use a modified version of Adafruit's RFM9x CircuitPython library to easily operate the radio. The pycubed_rfm9x.py library is a fork of adafruit_rfm9x.py with some hardware-specific changes to make our lives easier.
The above examples use the default 433 MHz LoRa radio configuration as set by the RFM9x library. Carefully read through the pycubed_rfm9x.py library so you understand how the transmitter and receiver are configured.
- The
pycubed_rfm9x.pylibrary is part of PyCubed default libraries and can be found at/lib/pycubed_rfm9x.pywith a PyCubed board plugged into your computer.
Next, let's examine what the ⭐pycubed.py library is doing with the rfm9x library to initialize the hardware:
# Initialize radio(s)
try:
    self.radio1 = adafruit_rfm9x.RFM9x(self.spi, self._rf_cs1, self._rf_rst1, 433.0)
    self.hardware['Radio1'] = True
except Exception as e:
    print('[ERROR][RADIO 1]',e)
We see that the pycubed.py library attempts to initialize BOTH radio positions, even through the board only ships with the Radio1 position populated. If we compare the above radio1 init to the class definition in the rfm9x library:
def __init__(self, spi, cs, reset, frequency, *, preamble_length=8,
                 high_power=True, baudrate=5000000):
it becomes clear that the the pycubed.py library sets a default frequency of 433.0 MHz and that default values are used for the preamble_length, high_power, and baud rate.
What if you wanted to change the frequency after the pycubed.py library has already initialized the hardware? That's easily achieved using the helpful setters/getters established in the pycubed_rfm9x.py library.
To change the frequency:
from pycubed import cubesat

# read the current set-frequency of radio1
print(cubesat.radio1.frequency_mhz)

# set a new frequency for radio1
cubesat.radio1.frequency_mhz=431.0
Some other helpful properties:
(find them in the pycubed_rfm9x.py library file to learn more)
- signal_bandwidth
- tx_power
- preamble_length
- coding_rate
- spreading_factor
- enable_crc
There are also lots of radio features not enabled in the pycubed_rfm9x.py library! Read through the RFM98 datasheet to discover more features and try modifying the library to use them.
Advanced Examples
Both Beep-Sat flight software examples (📻Beep-Sat (basic), 📻Beep-Sat (advanced)) contain thorough discussions of advanced radio usage, including:
- Beaconing & non-blocking listening
- Sending and receiving ACK packets
- Data down-linking
- Over-the-air command handling